
baking his first apple pie!
I baked the pie last night and I am pretty happy with the result in my first try.
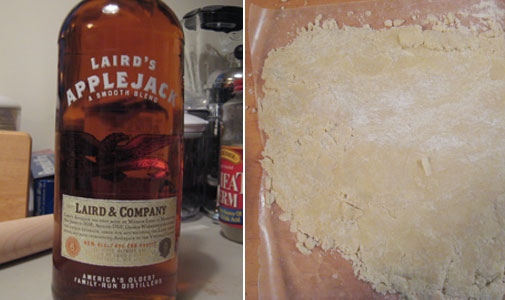
Instead of using cold water, as most pie crust recipes recommand, I used applejack as the liquid to bring dry ingredients (flour mixed with chunks of butter, salt, and sugar) together.
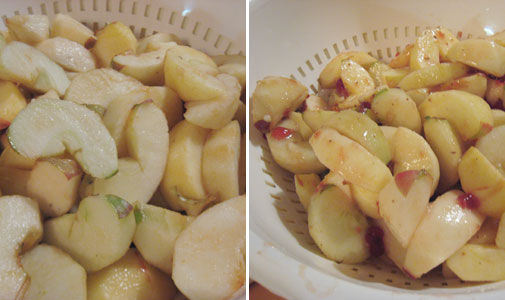
I drained the apple slices with 1/4 cup sugar for 1 hour and half before tossing them with 2 tablespoons red currant jelly, another 1/4 cup sugar, 2 tablespoons freshly squeezed lime juice, 1 tablespoon apple cider, and 1/4 teaspoon freshly ground caraway seeds.

After chilling the pie dough for few hours, I rolled it out and carefully put it inside the tart pan. The bottom of the tart pan can come off for easier pie crust assembly…one of the good reasons for using a tart pan instead of pie pan.
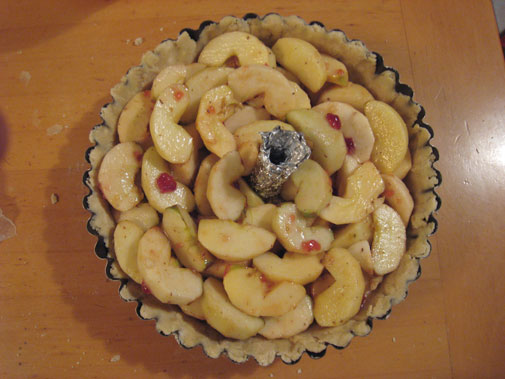
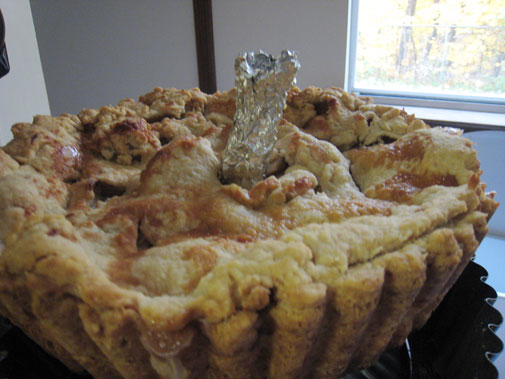
Apple slices went onto the pie crust immediately. The little chimney in the middle of the pie is called a pie bird, which I didn’t have. Therefore, I made one with aluminum foil. The pie bird lets the steam out during baking process (very important unless you want your oven be splashed with pie juice).
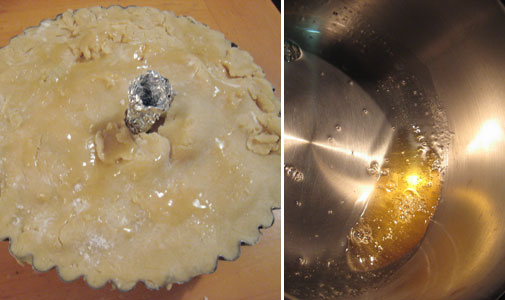
Once the apples are set, I sealed the pie with another layer of crust, followed by brushing on some apple glaze, made from the apple juice drained previously.

And there is my apple pie!
Baking an apple pie takes two steps:
1. Pre-heat the oven to 425 degrees. Set the pie at the bottom of the oven (not on any rack) and bake for 25 to 30 minutes.
2. Transfer the pie onto a rack placed in the lowest level of the oven, and bake for another 20 to 25 minutes.
After baking…chill the pie to room temperature, which is the hardest part, because many of us will be tempted to take a bite right away.
Another great reason for using a tart pan, you can have the side crust still intact when slicing the pie!
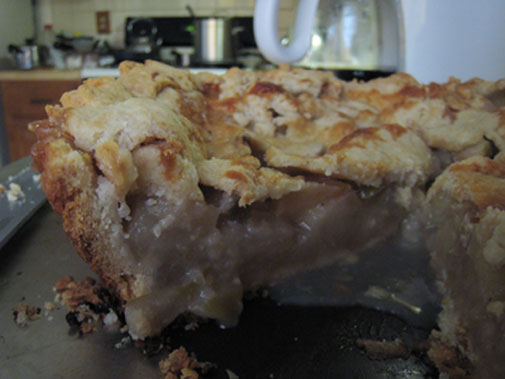
A closer look of the inside of the pie. I learned an important lesson - must cut the apples evenly. I didn’t have an apple slicer or a melon baller to de-core the apples. By using a pairing knife to cut the core out, I produced uneven slices and caused some pie juice not coagulated during the baking process. Some juice was coming out in the picture, if you look carefully.
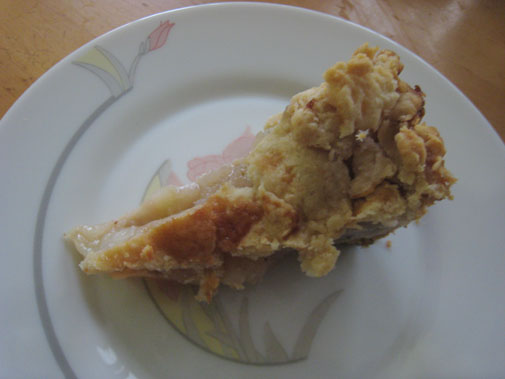
A slice of homemade apple pie…what a luxury!
Bake a pie in this holiday season! Guinea-pig different pie fillings, and I guarantee that you will have the most fulfilling fall/winter ever!


1 response so far ↓
Andy // Nov 7, 2008 at 7:51 am
That looks soooooo good.
Leave a Comment